
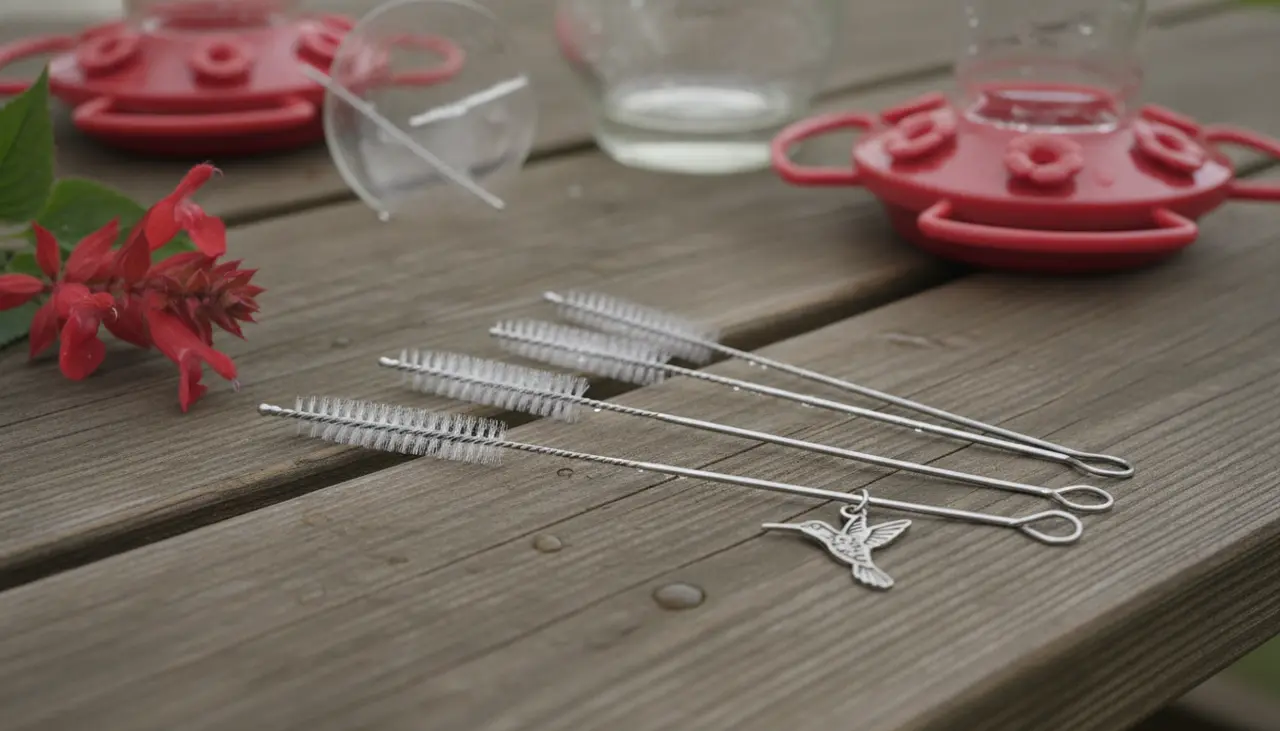
Essential Cleaning Brushes for Tiny Feeder Ports: A Guide to the Best Hummingbird Feeder Cleaning Kits
To keep your backyard hummingbirds healthy, a specialized hummingbird feeder cleaning kit is a non-negotiable tool. Unlike standard kitchen sponges, these kits feature micro-brushes designed to reach into the tiny nectar ports and narrow neck reservoirs where harmful black mold and bacteria thrive.
Using the right brushes ensures that every nook and cranny of your feeder is sanitized, preventing the spread of diseases like candidiasis in Ruby-throated and Anna’s hummingbirds. For a busy homeowner, having a dedicated set of brushes reduces the time spent scrubbing and ensures your "tiny guests" are always drinking safe, fresh nectar.
Why You Need a Dedicated Hummingbird Feeder Cleaning Kit
As parents and homeowners, we know that the "to-do" list never truly ends. Between school runs and yard work, it’s tempting to just rinse the feeder and call it a day. However, nectar is essentially sugar water, which is the perfect breeding ground for mold, especially in the heat of summer.
Standard dish brushes are simply too large for the delicate components of a feeder. A high-quality cleaning kit typically includes:
- Micro-port brushes: Tiny, mascara-wand style brushes for the feeding holes.
- Large bottle brushes: Flexible brushes for the main nectar reservoir.
- Detail nibs: For cleaning out ant moats and bee guards.
If you are still in the process of choosing the perfect setup for your yard, our The Hummingbird Heart Master Buying Guide covers how different feeder designs impact your cleaning routine.
Comparison of Popular Cleaning Tool Types
| Tool Type | Best Use Case | Key Benefit |
|---|---|---|
| Micro-Brushes | Tiny feeding ports & bee guards | Reaches areas where mold hides |
| Foam Bottle Swabs | Glass reservoirs | Non-abrasive; prevents scratches |
| Flexible Wire Brushes | Curved tubes & nectar paths | Bends to fit difficult angles |
| All-in-One Kits | General maintenance | Includes multiple sizes for all feeder parts |
Choosing the Best Kit for Your Feeder Style
Different feeders require different approaches. Whether you are a fan of the classic glass bottle or a modern top-fill design, matching your tools to your gear is essential.
Best for Traditional Bottle Feeders
If you use a tall, narrow-neck feeder like the classic Perky-Pet models, you need a long-handled brush with a flexible head. Nectar can crystallize at the very bottom of these bottles, and a standard kitchen brush won't reach the corners. Look for a kit that includes a brush at least 12 inches long.
Best for Ornate and Decorative Feeders
Hand-blown glass feeders are beautiful, but their irregular shapes are mold magnets. A flexible wire brush kit is your best friend here. These can "snake" through curves to ensure no fermented nectar is left behind.
Best for Quick Daily Maintenance
For the busy parent, a set of 3-4 micro-brushes kept right by the sink is a lifesaver. When you do your quick nectar refills every few days, a 10-second scrub of the ports with a micro-brush prevents deep-set mold from ever forming. This is particularly important if you are comparing different brands; for example, in the debate of Perky-Pet vs First Nature: Which Feeder Wins for Your Backyard?, you'll find that port accessibility varies significantly between designs.
Common Beginner Mistakes to Avoid
- Using Harsh Chemicals: Never use bleach unless there is a major mold outbreak, and even then, it must be diluted (1 part bleach to 9 parts water) and rinsed excessively. Ideally, stick to white vinegar and hot water.
- Skipping the Ports: Many people clean the bottle but ignore the tiny holes. This is where the hummingbirds' beaks actually touch the feeder, making it the most critical area for hygiene.
- Ignoring the Ant Moat: If your feeder has a built-in ant moat, it can collect debris and drowned insects. Use a medium-sized brush from your kit to keep this area clear.
How to Clean Your Feeder in 5 Minutes (The Parent-Friendly Method)
- Empty: Dump any remaining nectar (if it’s cloudy, you waited too long!).
- Soak: Drop the disassembled parts into a basin of hot water and white vinegar.
- Scrub: Use your micro-brush on each port and the large brush for the reservoir.
- Rinse: Rinse with cold water until the vinegar smell is gone.
- Refill: Add your fresh sucrose nectar (4 parts water to 1 part white sugar).
Frequently Asked Questions
How often should I use my cleaning brushes? In temperatures above 80°F, you should clean your feeder every 2-3 days. In cooler weather, once a week is usually sufficient, but always check for cloudiness.
Can I put my hummingbird feeder in the dishwasher? Some plastic feeders will warp in the dishwasher. Even "dishwasher safe" glass feeders often have plastic bases that can degrade. Hand-scrubbing with a specialized kit is always the safest way to ensure longevity.
Do I need a special soap? Actually, it's best to avoid dish soap entirely. Soap residue can be harmful to birds and may change the taste of the nectar, discouraging them from visiting. Hot water and vinegar are the gold standard.
Affiliate Disclosure: This post contains affiliate links to recommended cleaning kits. If you click and make a purchase, Hummingbird Heart may receive a small commission at no extra cost to you. We only recommend tools that support the health and safety of your backyard birds.